Windows ‘File Recovery’ series
Part 2 Recover Deleted files with Testdisk and PhotoRec
DISCLAIMER: These examples use techniques that I actually employ in the real world to deal with real problems. They might be wrong or dangerous. They might be inefficient. If you try them yourself, it might cause damage or irreparable loss. I take no responsibility for anything you do based on my examples or the information that I provide here.
Data recovery from hard drives has not changed much in decades. However, the effectiveness and ease of use of free tools has increased greatly. Also, the fact that CD’s, DVD’s, flash drives, SD cards and USB keys are made to behave like hard drives makes them candidates for recovery using the same tools. SSD’s provide some new challenges due to techniques they use to extend their life expectancy but for the most part are recoverable in the same manner as platter based drives.
In this series we’ll look at some real world examples of disastrous situations salvaged and made better again.
We will be looking at Windows (FAT and NTFS) filesystems.
How files are deleted
Deleted files are not removed from the hard drive until the space that they occupy is needed by a new file.
When a file is deleted, the list of disk clusters occupied by the file is erased, marking those sectors available for use by other files created or modified thereafter. If the file wasn’t fragmented and the clusters haven’t been reused, you should have a great chance of getting it back.
Recovery is often done by looking at the raw data on the disk for unreferenced data, then determine the file type and directory structure, rebuild them and save them elsewhere.
Simple Recovery with Testdisk and PhotoRec
We’ll do this in Windows XP Professional Service Pack 3
TestDisk is a program that does lots of things that we will talk about later in this series but for this post we are looking at its file undelete capabilities. It also comes with the program PhotoRec which has some advantages for recovering specific file types like pictures or Outlook mailboxes (currently over 200 file types).
When to use TestDisk or PhotoRec for Deleted File Recovery
Recuva is great for recovering files when you are working in a Windows environment (See Part 1 of this series). It also has better directory structure recovery than TestDisk and is very easy to use. However, when you are trying to recover files from a broken Windows machine using a Linux bootdisk TestDisk and PhotoRec are your best choice. For this example we will be running it from within a Windows environment but it looks exactly the same as when you run it from a Linux Live environment like Puppy Linux. Use TestDisk to recover everything deleted on a partition and use PhotoRec to recover specific filetypes from a partition (all the .jpg picture files for example).
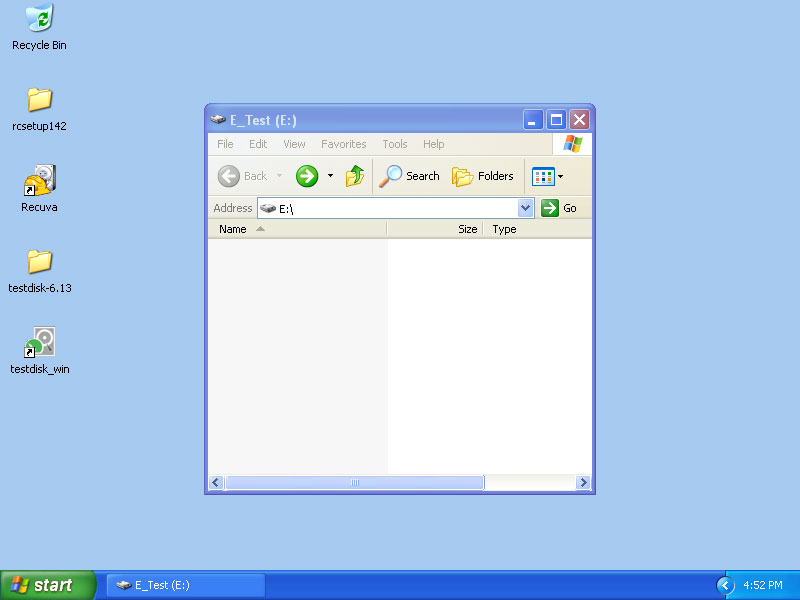
Since TestDisk looks at a whole partition for deleted files we will create a little 1GB test partition on our disk drive and call it the E: drive.

We then put a folder full of important files and some pictures on the E: drive.

Then we Shift-Delete everything on the E: drive
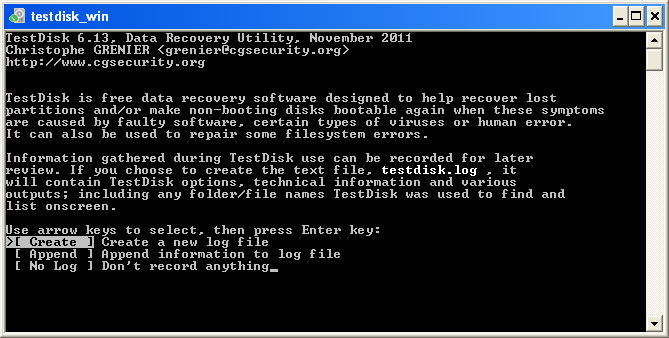
Download and run TestDisk
http://www.cgsecurity.org/wiki/TestDisk
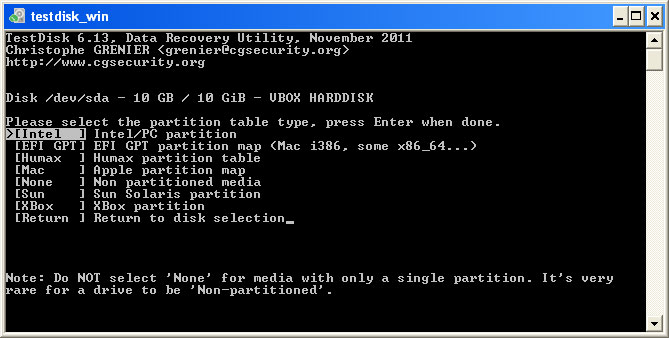
Choose our hard drive

Select Intel/PC partition
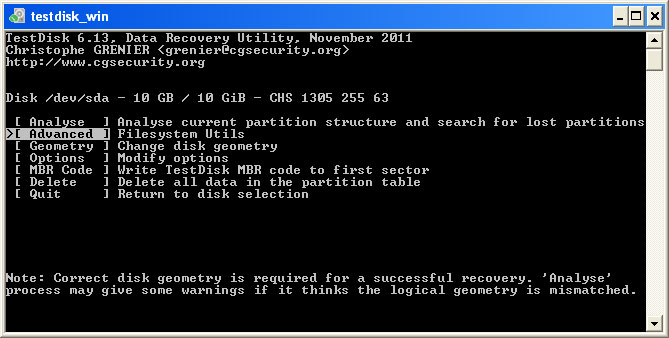
Select the ADVANCED Filesystem Utils
Select our E: drive partition and select UNDELETE
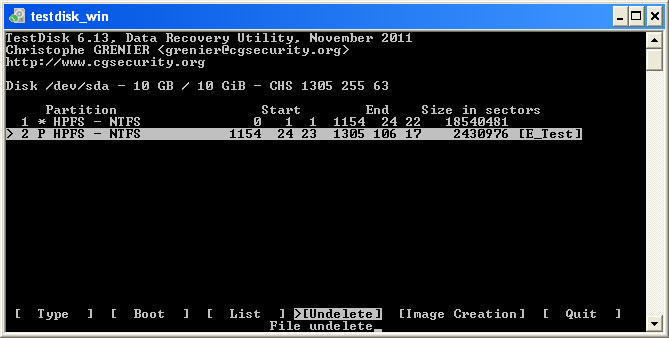
Now you see all of the deleted files on the E: drive that you can recover

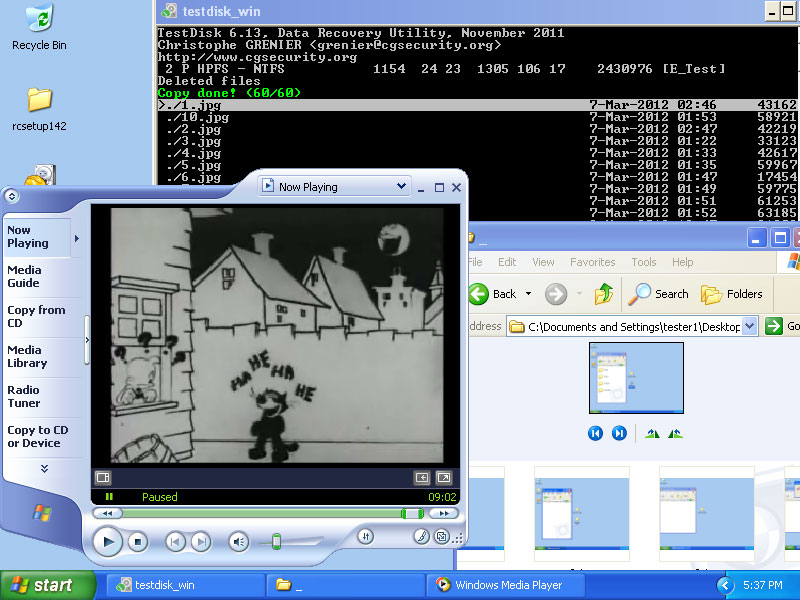
After telling it where to copy the undeleted data to, we can open it and it all works.
What Happens When You Overwrite Some of the Deleted Data ?
Now before attempting to recover the files that we deleted, we put a bunch of audio files onto the E: drive
When we attempt our recovery we see that we can no longer recover all of the files that were in the ImportantFiles folder and all we can get are the images.
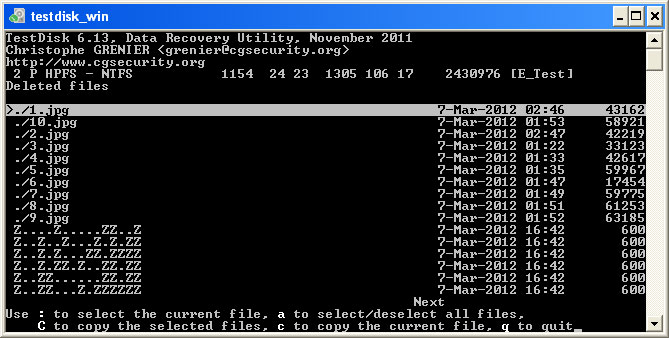
This illustrates why it is important to attempt recovery before anything else is written on the disk and potentially overwrites the data that you need to recover.
Using PhotoRec for file recovery
Since PhotoRec focuses on specific filetypes, it is incredibly powerful. It uses techniques such as file carving to try to get as complete a recovery as possible without a human actually analyzing the data stored on the drive.
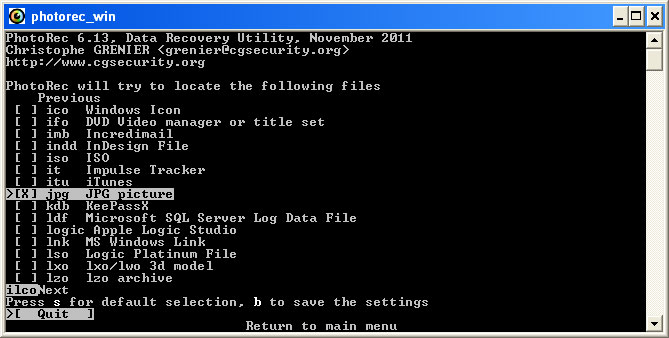
When you run it, it looks like TestDisk and you select your partition the same way. Then it asks you which filetypes you want to recover. For our example we will choose only .jpg image files.
Then you choose a destination for the recovered files and it works its magic.
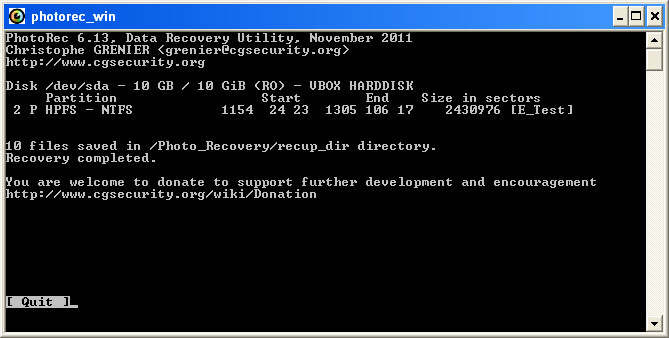
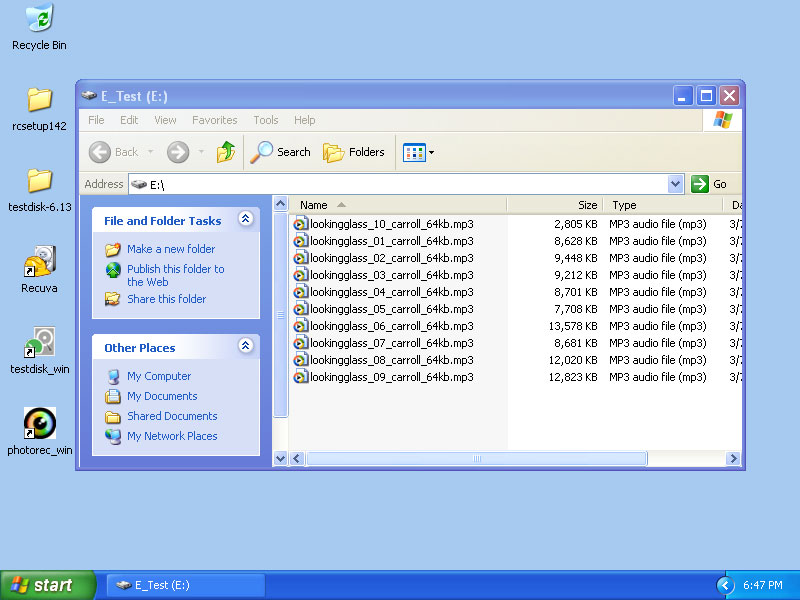
It recovered them all!

And you also get a nice log file
