Windows ‘File Recovery’ series
Part 4 Recover Files From a Bad Hard Drive
DISCLAIMER: These examples use techniques that I actually employ in the real world to deal with real problems. They might be wrong or dangerous. They might be inefficient. If you try them yourself, it might cause damage or irreparable loss. I take no responsibility for anything you do based on my examples or the information that I provide here.
In this series we’ll look at some real world examples of disastrous situations salvaged and made better again.
We will be looking at Windows (FAT and NTFS) filesystems.
How it usually starts
Often as a hard drive begins to go ‘bad’ you start to get strange errors in programs and your computer occassionally shuts down with a blue screen error. You may also start to notice sounds from the hard drive that you have not heard before. In many cases, the computer will not boot to Windows at all and none of the repair options will seem to work. Disk diagnostics programs either crash, show errors on the disk or don’t run at all.
At this point the user realizes that they need to completely re-install Windows (and hopefully, but not always, understand that they need to replace the hard drive). How do they get their data from a crashing or unbootable drive?
How to Recover the Data
A broken hard drive isn’t just ‘broken’ it is almost always still in the process of ‘breaking’ and everything we do to it is going to make it worse. That means we have to be as efficient as possible in our recovery efforts.
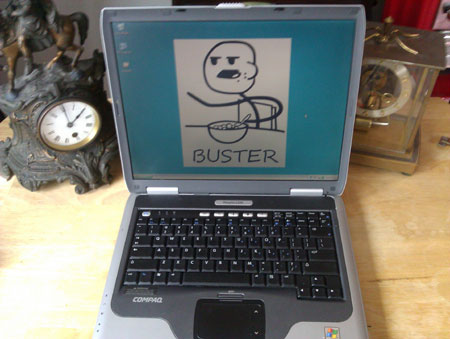
In this example we are going to show a recovery ‘in the field’ by connecting a good USB external drive and externally connecting the ‘bad’ drive via a USB adapter to a Compaq Presario 2200 laptop named Buster.
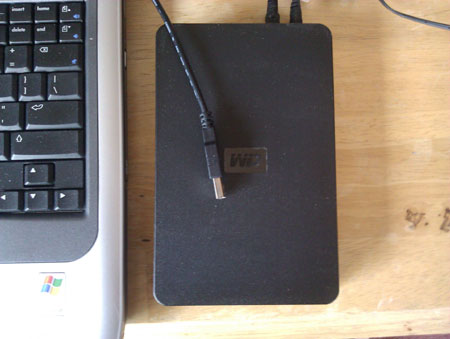
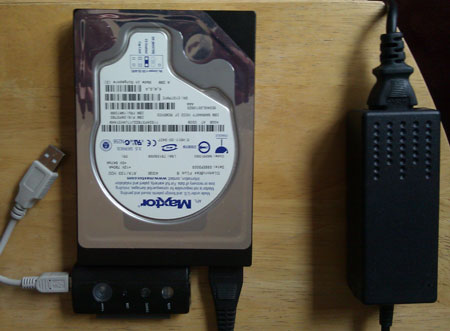
Preferably, this kind of job should be done on a dedicated recovery machine where the ‘good’ and ‘bad’ drives are connected directly to the motherboard and every thing about the machine is perfect except the ‘bad’ hard drive that we are trying to recover. (This particular ‘bad’ drive was already successfully recovered once using just such a computer.) Most people don’t have access to a machine like that but have a laptop in addition to their desktop so this example shows how to use the resources commonly on hand. The external drive used is a 1.5TB Western Digital external drive that costs about $100 and the USB to IDE drive connector used on the bad drive is a JMicron USB to ATA/ATAPI Bridge that can be found for about $20. If the laptop has enough free space on its internal drive (this one does not), you don’t need the external drive.
Now we boot buster from a Parted Magic boot CD
http://partedmagic.com/doku.php?id=downloads
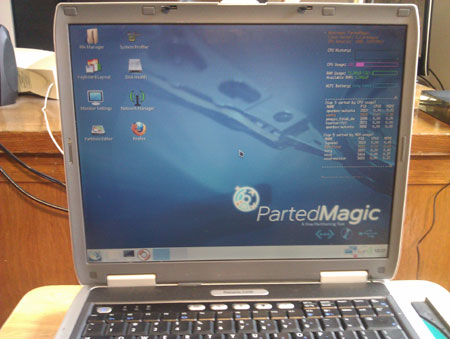
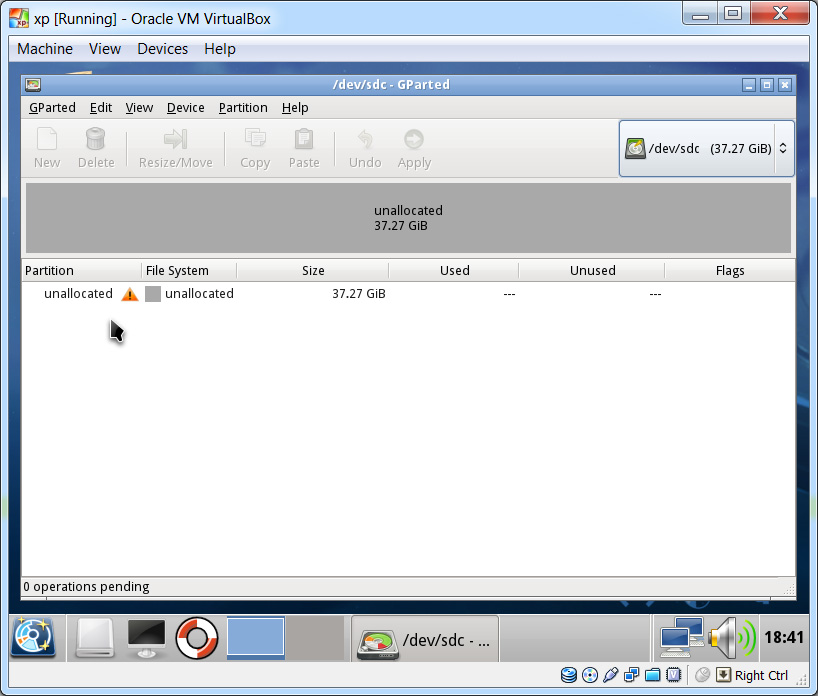
First we run gparted by double clicking the Partition Editor icon.
Looks like gparted sees no partitions on the bad drive.
Now we open up the terminal and type
fdisk -lu
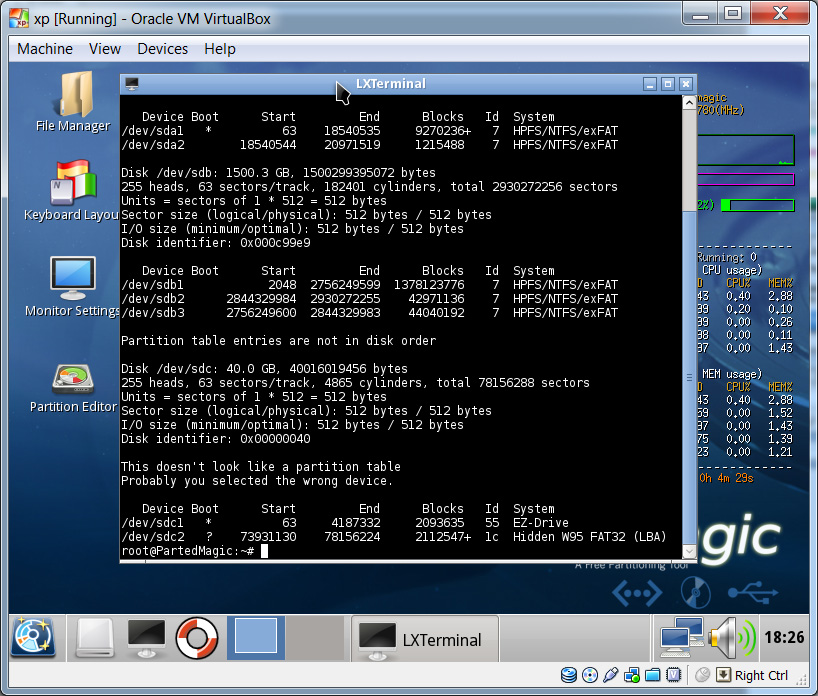
to identify the disks and we see
/dev/sdc is our ‘bad’ drive.
/dev/sdb1 is where we wish to copy the data to as a disk image file.
We’ll try to use the program ddrescue to recover the data.
It is included on the Parted Magic boot CD, here’s the manual…
http://www.gnu.org/software/ddrescue/manual/ddrescue_manual.html
ddrescue helps you make a copy of a disk with errors while minimizing further damage to the disk. It does this by skipping every bad sector it comes across, noting where it exists and then coming back to it only after all of the good sectors have been copied. As long as you allow it to make a log file, you can repeatedly come back to the bad disk and try to recover the bad sectors. It also allows you to resume a copy from where it left off if there is a crash or a power failure.
ddrescue tries to make an exact copy of the disk. That way, you can recover deleted files and partitions from the copy just like you can recover them from the original.
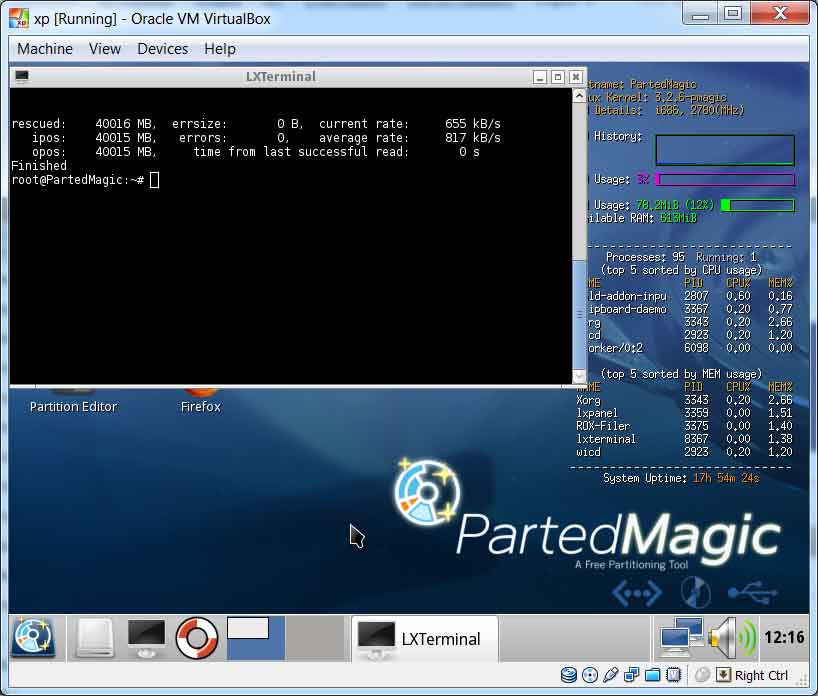
In our example we use this command in the terminal of Parted Magic…
ddrescue -r 3 /dev/sdc /media/sdb1/image.dd /media/sda1/rescuelog.log
This runs ddrescue
-r 3 tells ddrescue to retry rescuing each bad sector 3 times before giving up on it.
/dev/sdc is the ‘bad’ drive that we are copying.
/media/sdb1/image.dd is the image file that we want to copy the ‘bad’ drive to.
/media/sda1/rescuelog.log is where we want to save our logfile which is in the root of Buster’s C: drive.
After over 15 hours it completed and recovered the whole drive.
As a comparison, a healthy 40GB IDE drive containing over 30GB of data on the same setup finished in under two hours (maybe sooner as I left it and returned two hours later to find it completed).
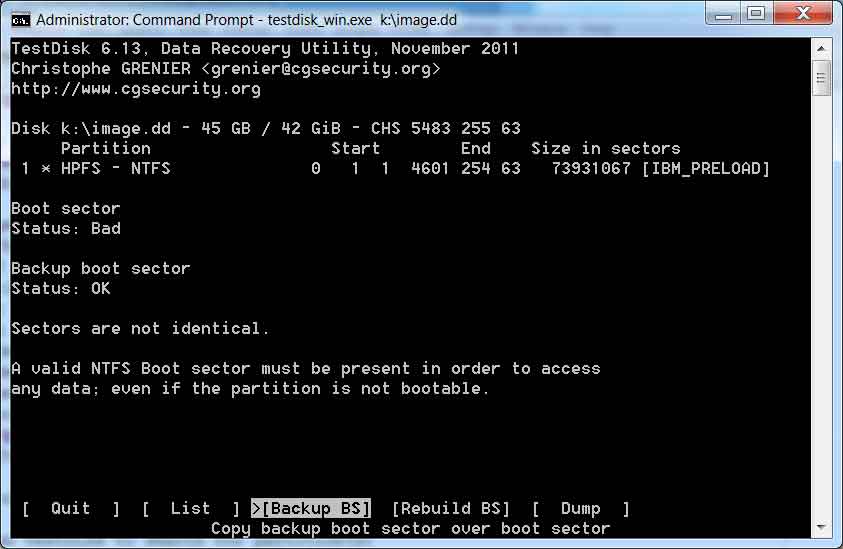
Now we run TestDisk on the image file to search for partition(s)
C:\testdisk-6.13.win\testdisk-6.13>testdisk_win.exe k:\image.dd
NOTE: We could also run PhotoRec (See Part 2 of this series) against this image if we only wanted to recover specific filetypes.
In TestDisk we choose quicksearch and find a small DOS recovery partition with all files intact.
Now we go further and choose the deepersearch option and find our main NTFS partition from a backup sector.

Next we choose to restore the backup boot sector and the image is fixed.
For our example, we’ll recover just the main partition’s files straight from TestDisk to illustrate that we could recover this to a disk from our repaired image. In a real life recovery, we would get a new disk large enough to hold the image and then use dd or ddrescue with the image file as our input and the new drive as our output.
In TestDisk from the partition list of our image file we select our partition then we press ‘p’ to view files and folders on the partition then we press ‘a’ to select all of them then we press ‘C’ to copy selected files then we choose the location to send them to.
Here we sent them to an empty partition that we made that Windows calls the H: drive. Here are all the files. There were about a dozen corrupted files in this recovery but they were not in any system files.

This drive was dead and inaccessible from Windows. When I originally rescued it I did the ddrescue, recovered the partitions to a new internal drive and after we put the new drive into the computer that the bad drive was in, it booted up fine and everything was there. That was over a year ago and it is still running with that drive and OS.
Even though the user had repeatedly run various disk repair tools which all crashed after several hours, we were able to recover this drive’s data and they were very happy.
I am wondering – are you running testdisk on the image file from within windows? Or Parted magic?
The whole syntax with c:\ and k:\ makes me think it is Windows? I am also wondering why are you running this off C drive and how do you know it is K drive if this is running from parted magic?
Hi Loukas
Yes. You’ll notice that the command line I used was “Now we run TestDisk on the image file to search for partition(s)
C:\testdisk-6.13.win\testdisk-6.13>testdisk_win.exe k:\image.dd”
The main purpose for using PartedMagic is because it does not try to automatically mount file systems on a drive like Windows does. Since at that point we were working with an image file and not a broken drive, I switched into Windows since it is often easier for people to use and navigate through the file system if they need to recover files from the image.
James
Hi James
I cannot see my external hard listed over there. Could you please help me with this?
How do I retrieve a file from a corrupted windows with only the file name known but the folder name is unknown. I need this done within 5 minutes for my boss as he has to make a presentation from it.
when I type fdisk -lu,
it only says dev/sda: Input output error.